If you want to quickly make some 64-bit and 32-bit WinPE bootable ISOs, which also contain some useful utilities, try the
free Lazesoft Recovery Suite Home Edition.
Note: I have not fully tested any of the Lazesoft utilities yet, this blog post is just to inform you of a useful set of ISOs.
You first need to download and run lsrshsetup.exe to install it onto your Windows system and then run it (or the separate Desktop entry for the Lazesoft recovery suite media builder).
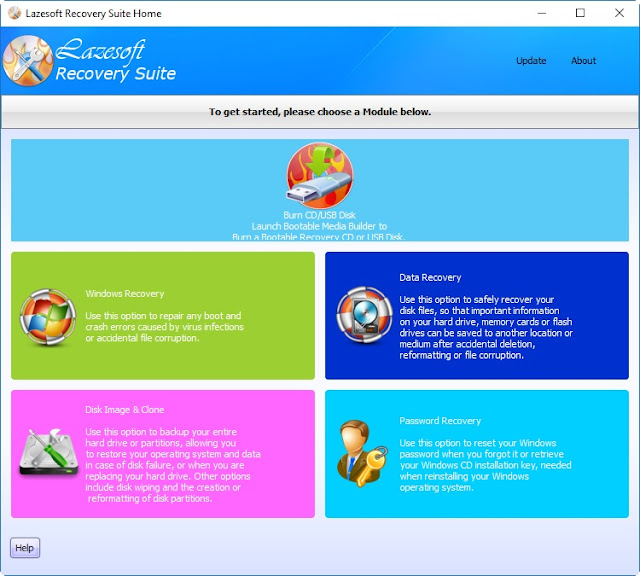 |
| Click on the USB Flash drive icon at the top to make an ISO. |
 |
| Media Builder - select the WinPE version that you want to build |
You can check what WinPE version is going to be built using the
Options button.
I would suggest building both a Windows 8.1 32-bit and a Windows 8.1 64-bit version to start with.
Note that the 64-bit versions do not include WoW64 support and so cannot run 32-bit programs.
Simply add the ISOs to your E2B drive (you can use an extension of .isoPE, although just .iso will work).
You can check what version it is by using the
About link once you have booted from the ISO file.
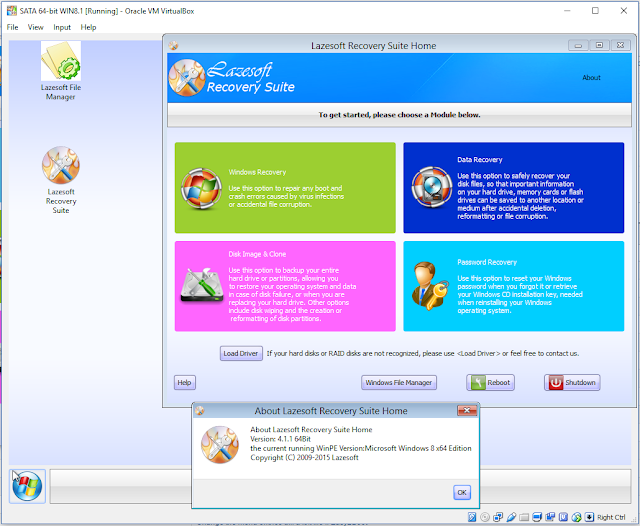 |
| Click on About at the top to see what version of WinPE you have. |
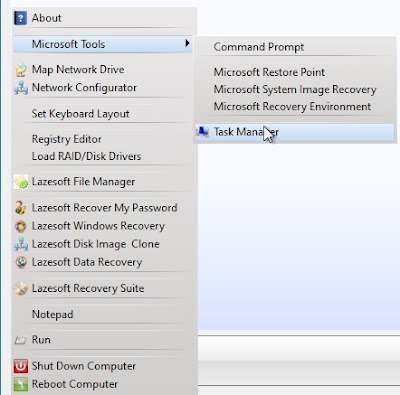 |
| Lazesoft Start Menu |
Once you boot from the ISO you will have these utilities available:
- Lazesoft Recovery My Password Home Edition (reset password or find windows product key)
- Lazesoft Data Recovery Home Edition (fast scan, undelete, unformat)
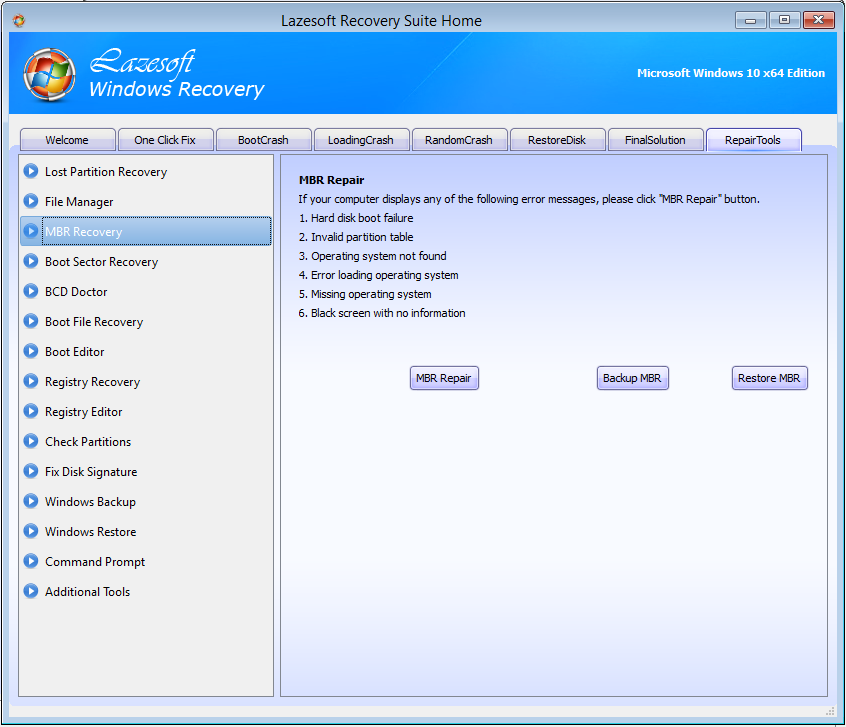
- Lazesoft Windows Recovery Home Edition
- Lazesoft Disk Image & Clone Home Edition
- File Manager
- Microsoft Recovery Utilities
- Load Disk drivers
Using the File Manager, you can run utilities such as WinNTSetup from the E2B USB drive.
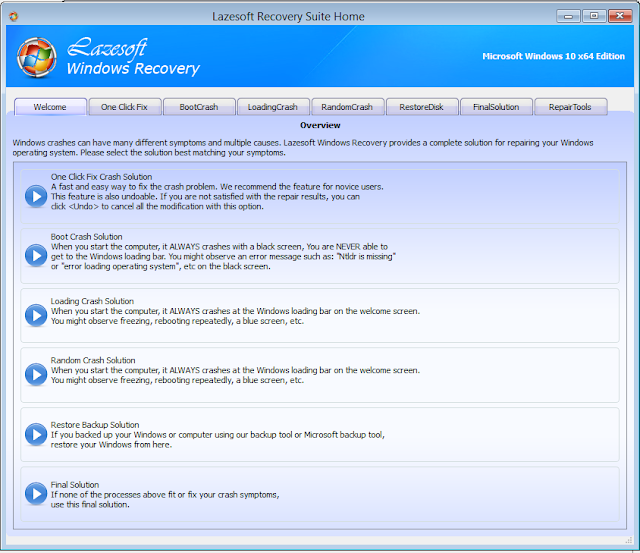 |
| Windows Recovery options |
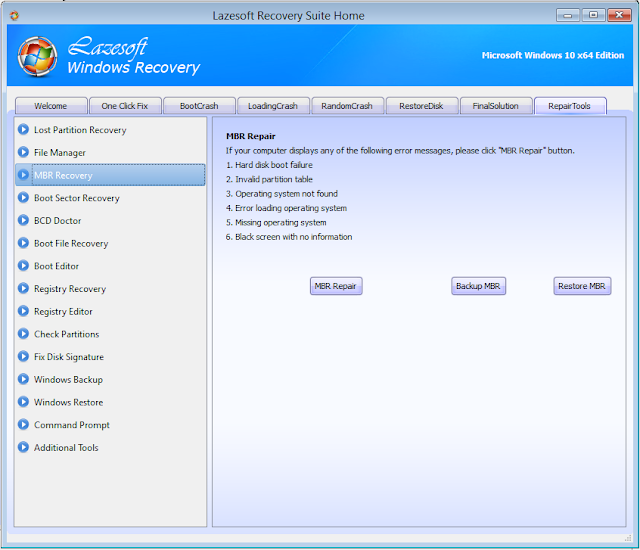 |
| RepairTools options |
Currently, there does not seem to be an option to make a Windows 10 WinPE ISO except in the
Beta version which I have tried and it does seem to work.


This post is very helpful. thank you for sharing.
ReplyDeleteLazesoft Recovery Suite